How to Use Excel Chart Templates
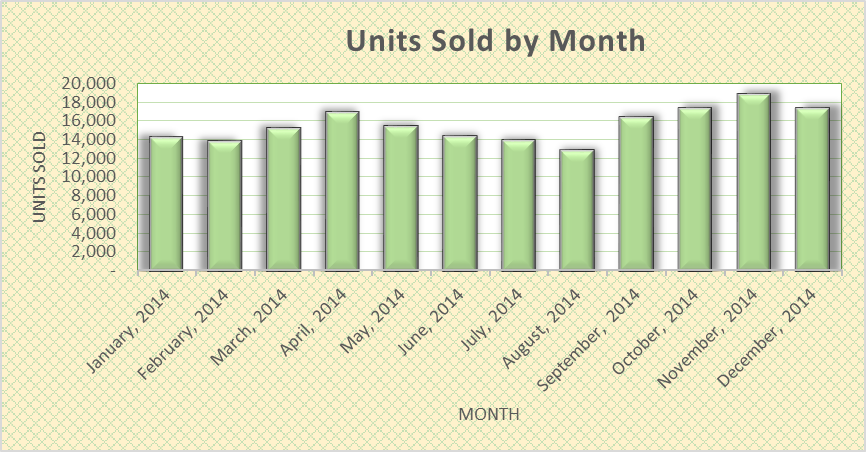
How often do you need to insert a favorite chart style, consistent with your prior submission, to maintain a consistent look and feel to your monthly reporting packages? That consistency is one element that increases the appearance of professionalism—especially if it reflects your company’s brand, typography, and color scheme.
The more recent versions of Excel come with wonderful easy-to-use charts. However, for people who need to recreate charts on a regular basis, Excel includes a means to save chart templates for later reuse.
1. Create Your First Chart
Begin with a new chart based on one of Excel’s included chart types.
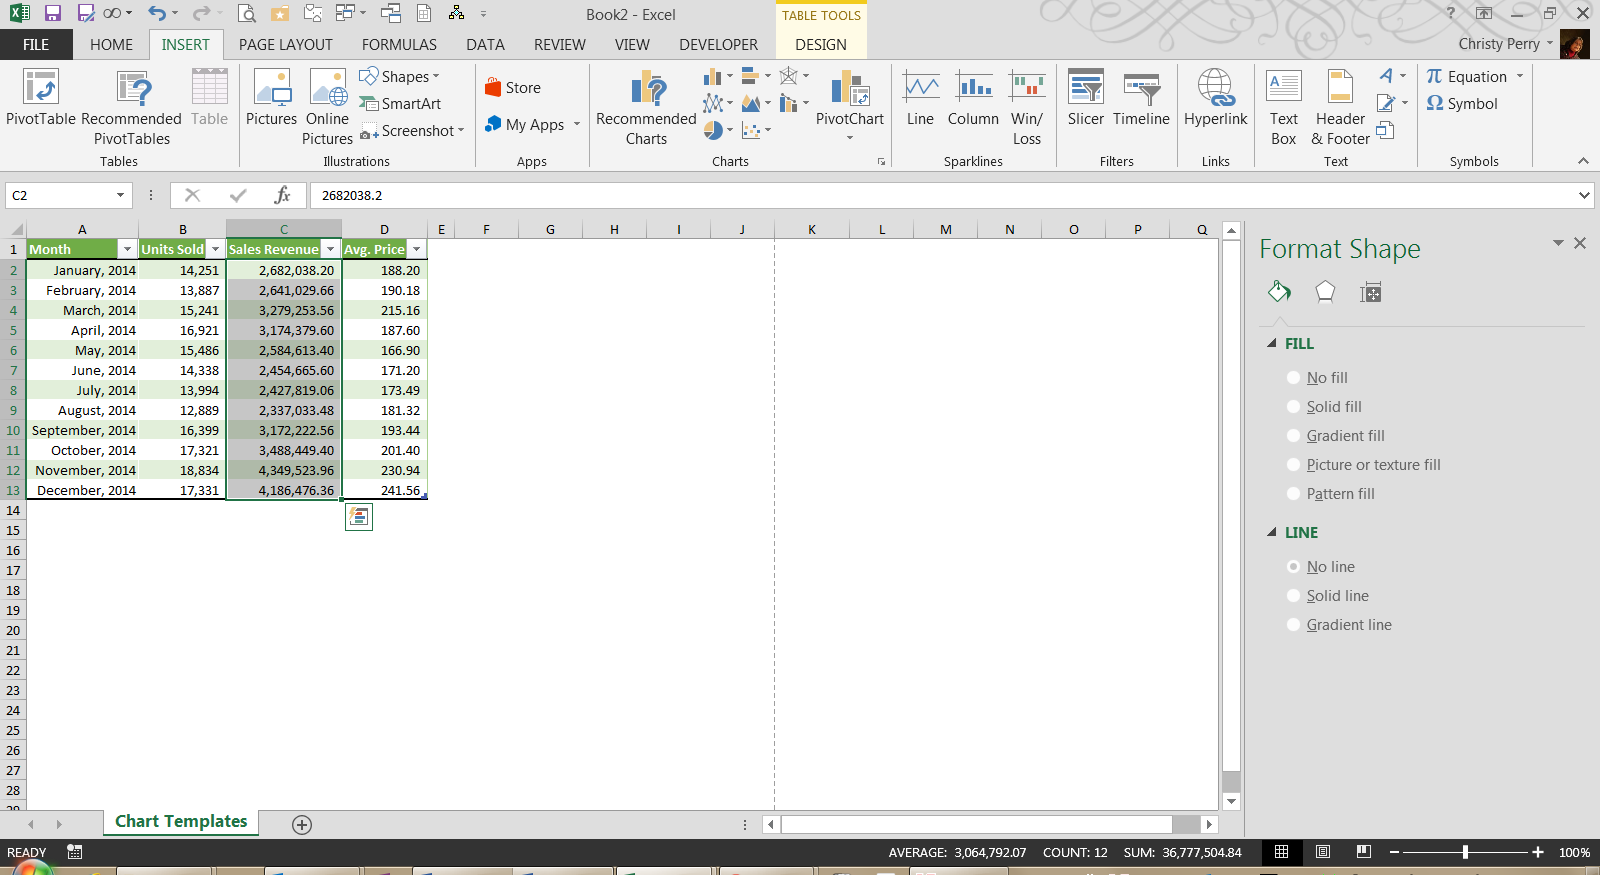
- Highlight your data, either by dragging your mouse or using keyboard shortcuts.
- Go to the Insert ribbon.
- Click on the chart type that you’d like to create.
- Click on the new chart. New Chart | Design and Chart | Format tabs now appear on the ribbon.
- From the Chart | Design ribbon, add, remove, or adjust elements such as titles and legends.
- From the Chart | Format ribbon, and adjust the formatting until your chart looks just right.
- Click on any additional chart elements that you would like to adjust.
2. Save as a Template
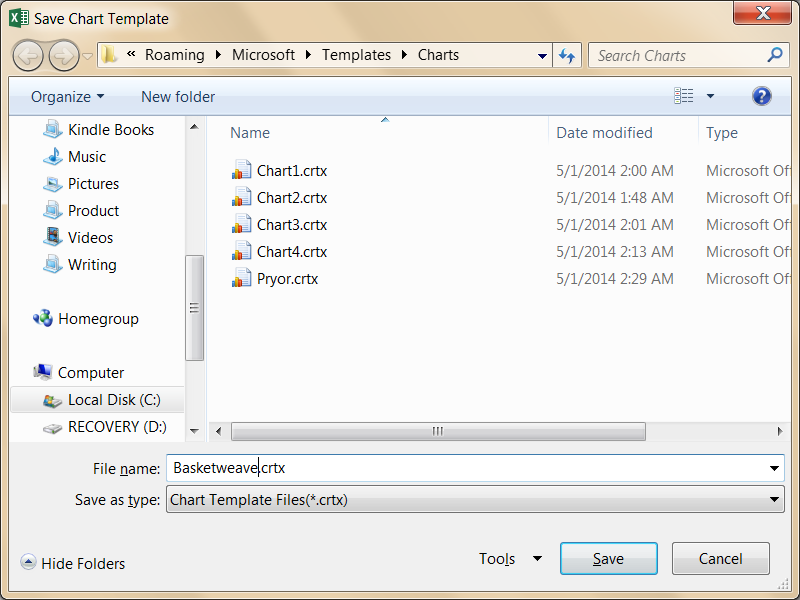
Right-click the chart and choose Save as Template. In the dialog box that follows, save your chart template under a name that you’ll remember. Be sure that the folder is set to Charts – the default.
3. Reuse the Template
Now it’s time to create a new chart using your template.
- Highlight the data that you’d like to chart.
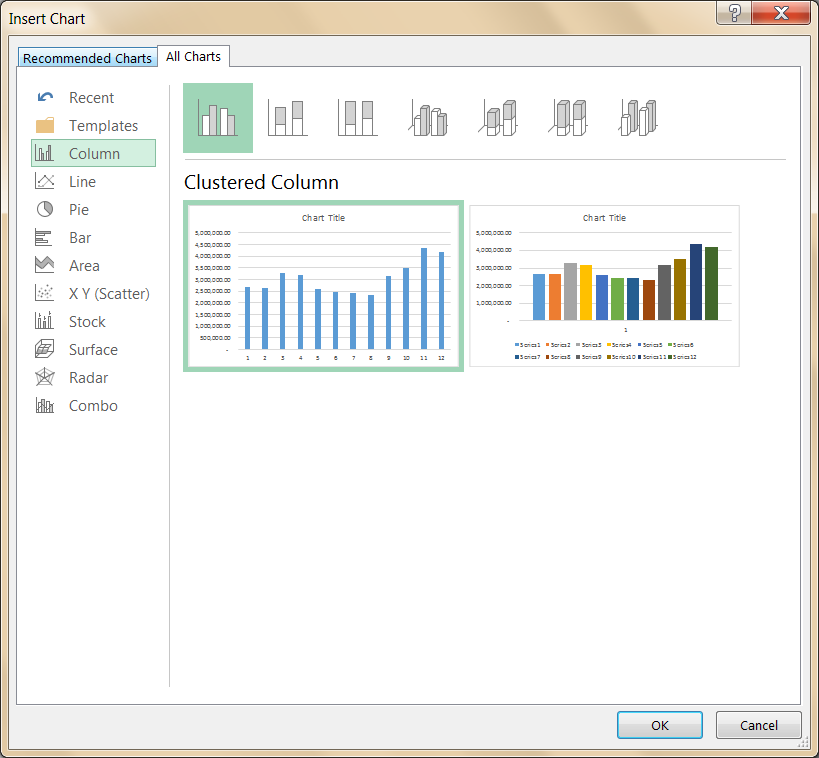
2. From the Insert ribbon, choose Recommended Charts.
3. In the dialog box that follows, select the All Charts tab.
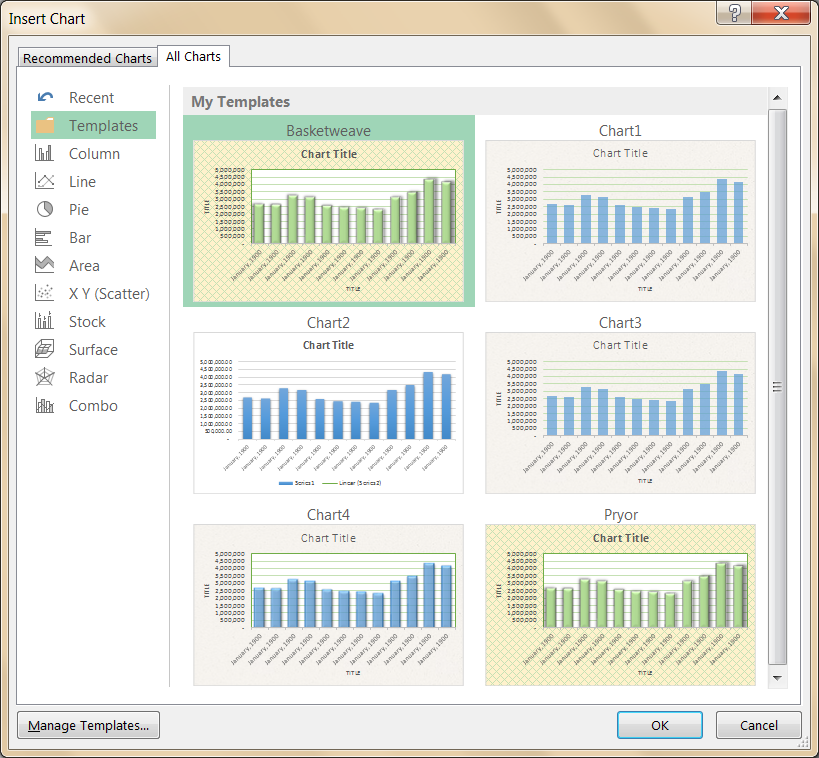
4. Choose Templates.
5. Click your template.
Your new chart has the design and format of the template. However, you’ll need to adjust certain elements (like titles), which appear with placeholder text.
Next Steps
The attached workbook includes both the data table and the customized chart used in the above example. To use this as a starting point for your template, open the workbook and modify the chart until you are satisfied with its appearance. Then follow the steps above to save the chart as a template. Enjoy!


